Mac 命令行
1
2
3
4
5
6
7
8
9
10
11
12
13
14
15
16
17
18
19
20
21
22
23
24
25
| ## 设置终端代理
## vi ~/.bash_profile
function proxy_on() {
//此处需要查看代理端口,clash是7890
export http_proxy=http://127.0.0.1:7890
export https_proxy=\$http_proxy
echo -e "Terminal proxy on."
}
function proxy_off(){
unset http_proxy https_proxy
echo -e "Terminal proxy off."
}
## source ~/.bash_profile
//注意这个只会执行一次,每次打开终端都需要执行一次才会生效
## 如果想自动生效可以将 source ~/.bash_profile 追加到 ~/.bashrc
# 第二种方法设置快捷命令
# vi ~/.bash_profile
alias proxy='export http_proxy=http://127.0.0.1:1089;export https_proxy=http://127.0.0.1:1089;'
alias unproxy='unset all_proxy'
# source ~/.bash_profile
# 其余操作一样
|
查看代理
1
2
3
| # env|grep -i proxy
这个proxy是设置了第二种方式的快捷键
# curl cip.cc
|
不间断运行python项目
1
2
3
4
5
6
7
8
9
10
| ## 不间断运行python项目
nohup python your_project.py > project.log 2>&1 &
# your_project.py 是你的Python项目的文件名,替换为你的实际项目文件名。
# project.log 是日志文件名,保存项目的输出信息,可以根据你的需要指定其他文件名。
## 通过以下命令来查找进程号,然后使用kill来终止该进程
ps -ef|grep your_project.py
## kill PID
kill PID
|
参考链接:http://t.csdn.cn/47ywh
参考链接:https://weilining.github.io/294.html#实战
参考链接:http://t.csdn.cn/lZGvC
1
2
3
4
5
6
7
8
| curl https://api.openai.com/v1/embeddings \
-H "Authorization: Bearer $OPENAI_API_KEY" \
-H "Content-Type: application/json" \
-d '{
"input": "The food was delicious and the waiter...",
"model": "text-embedding-ada-002"
}'
|
mac终端连接云服务器
1
2
3
4
5
6
7
8
9
10
11
12
13
| ### ssh连接云服务器
## ssh root@ip地址 -p 22
## 输入密码
## sftp传输文件
## sftp root@ip
## 输入密码
## sftp put (-r) /Users/mac/Descktop/文件(文件夹) /var/www/html (-r 表示上传文件夹)
## mv 旧的名字 newName
## mv 文件 文件夹(移动文件)
## rm (-r) 文件名(文件夹名)
## 从服务器上下载文件
## get (-r) /remotePath/file /localPath
|
云服务器nginx操作
1
2
3
| ## cd /var/www/html
把文件上传到此处
## vim /etc/nginx/sites-enabled/default
|

1
2
3
4
5
6
7
8
9
| ## nginx -t
检查nginx是否更新
## ps -ef|grep nginx
## kill 进程号
此处采用关闭进程的方法关闭nginx
## sudo systemctl start nginx
重启nginx
## /usr/sbin/nginx
检查nginx是否正常运行
|
关于nginx一些其他的操作
1
2
3
4
5
6
7
8
9
10
11
12
13
14
15
16
17
18
19
20
21
| 启动nginx服务:
## sudo systemctl start nginx
停止nginx服务:
## sudo systemctl stop nginx
重启nginx服务:
## sudo systemctl restart nginx
重新加载nginx配置文件:
## sudo systemctl reload nginx
查看nginx状态:
## sudo systemctl status nginx
配置防火墙:确保防火墙允许 HTTP 和 HTTPS 流量:
## sudo ufw allow 'Nginx Full'
创建sites-enable和sites-available的通配符链接
## sudo ln -s /etc/nginx/sites-available/your_domain.com /etc/nginx/sites-enabled/
|
给nginx配置https(ssl证书)
1
2
3
4
5
6
7
8
9
10
11
12
13
14
15
16
17
18
19
20
21
22
23
24
25
26
27
28
29
30
31
32
33
34
| ## sudo vim /etc/nginx/sites-available/your_domain.com
## your_domain.com的具体配置如下
server {
listen 80;
root /var/www/html;
index index.html;
server_name your_domain.com www.your_domain.com;
# Redirect HTTP requests to HTTPS
return 301 https://$host$request_uri;
}
server {
listen 443 ssl;
root /var/www/html;
index index.html
server_name your_domain.com www.your_domain.com;
ssl_certificate /path/to/your_certificate.crt;
ssl_certificate_key /path/to/your_private_key.key;
# 添加中间证书文件 (可选)
# ssl_trusted_certificate /path/to/your_intermediate.crt;
# SSL 配置
ssl_protocols TLSv1.2 TLSv1.3;
ssl_ciphers 'TLS_AES_128_GCM_SHA256:TLS_AES_256_GCM_SHA384:TLS_CHACHA20_POLY1305_SHA256:ECDHE-RSA-AES128-GCM-SHA256:ECDHE-RSA-AES256-GCM-SHA384';
ssl_prefer_server_ciphers off;
# ...
location / {
# 配置其他 Nginx 设置
}
}
|
在mac终端命令行打开index.html
1
2
3
4
5
6
7
8
9
10
11
| 用默认浏览器访问index.html
# open index.html
用指定浏览器访问.html 文件
# open -a "/applications/Google Chrome.app" index.html
用默认浏览器访问链接
# open http://xidian.top
用指定浏览器访问链接
# open -a "/applications/Google Chrome.app" https://127.0.0.1:80
|
在mac终端启动Tomcat
1
2
3
4
5
6
7
8
9
10
11
| 进入Tomcat
# cd ~/Library/Tomcat/bin
授权使用Tomcat bin目录下的所有操作,操作命令如下
# sudo chmod 755 *.sh
启动Tomcat,操作命令如下
# sudo sh ./startup.sh
可以看到终端显示Tomcat started.
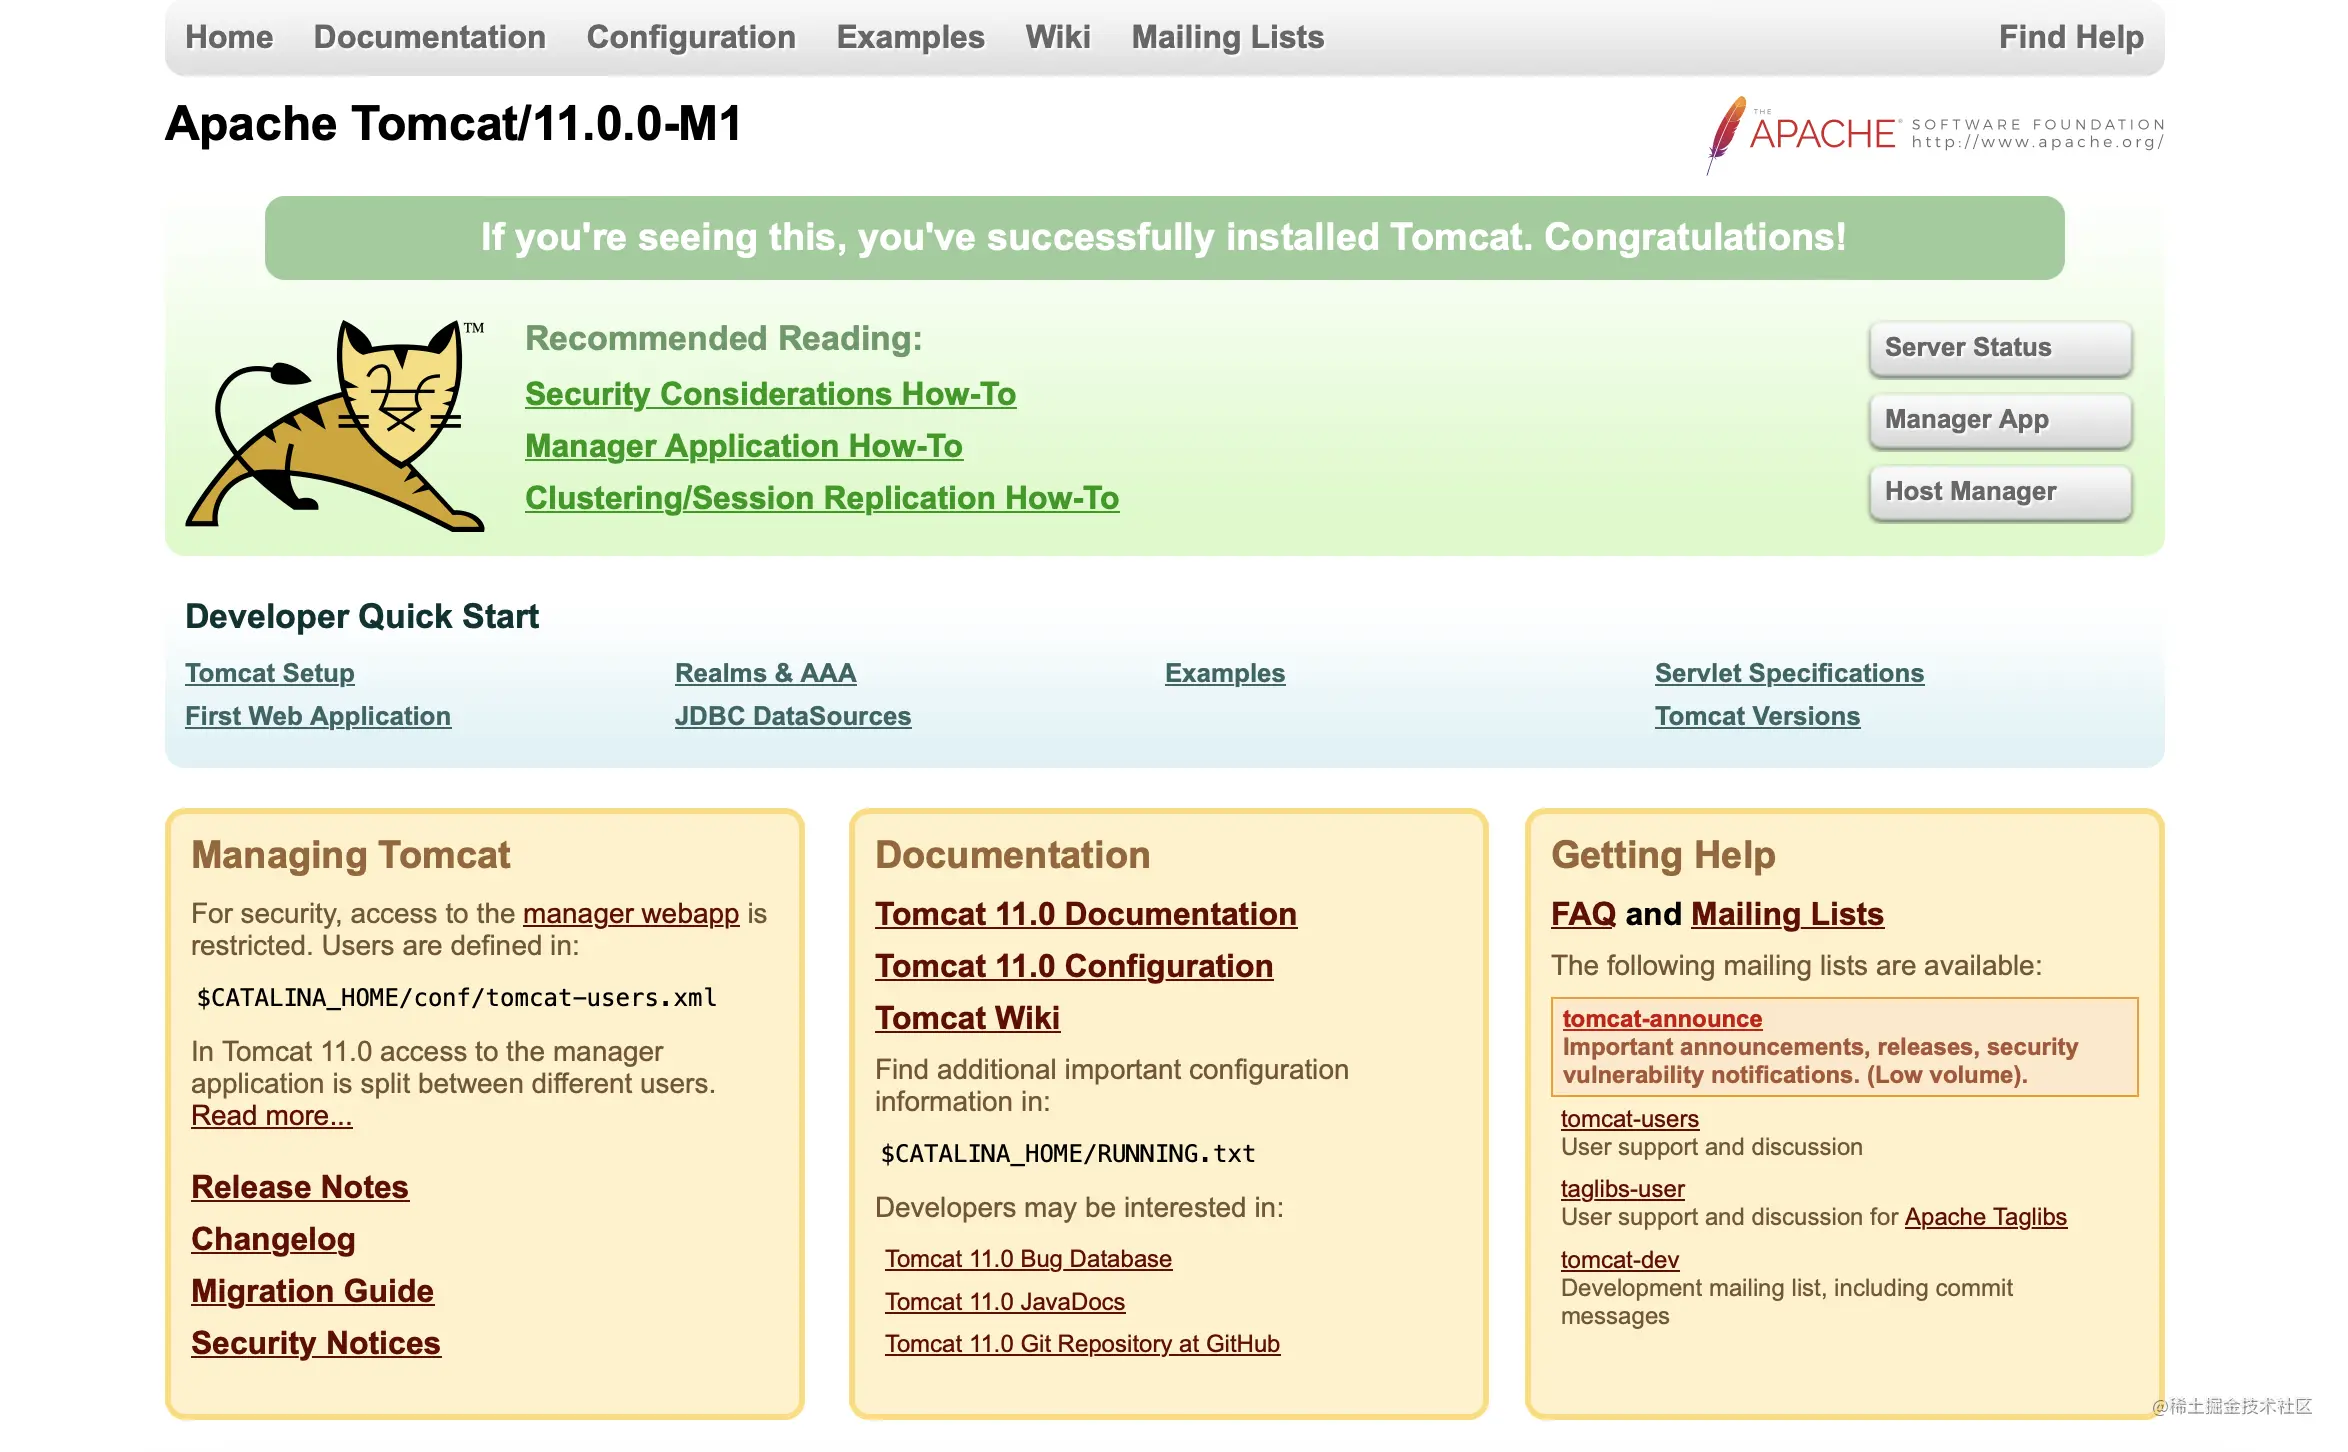
打开浏览器,访问localhost:8080,如果页面如下,也表示Tomcat已启动。
|

1
2
3
| 关闭Tomcat,操作命令如下(先切换Tomcat中的bin目录
# cd ~/Library/Tomcat/bin
# sh ./shutdown.sh
|
在ubuntu系统上查看开放端口
1
2
3
4
5
6
7
8
9
10
11
12
13
14
15
| # 查看TCP和UDP端口
netstat -tuln
# 配置防火墙规则
## 配置防火墙管理工具
sudo apt update
sudo apt install ufw
## 使用ufw开放5000端口
sudo ufw allow 5000/tcp
## 用防火墙
sudo ufw enable
## 检查防火墙的配置规则
sudo ufw status
|
使用curl 命令终端访问接口
1
2
3
4
5
6
7
| ## 使用GET访问
curl -X GET "http://127.0.0.1:5000/query?query=query_string""
## 如果URL中含有非ASCII码字符
### 使用urllib.parse.quote()方法对URL参数进行编码
curl -X GET "http://45.63.93.200:5000/query?query=$(python -c 'import urllib.parse; print(urllib.parse.quote("我现在头疼怎么治疗"))')"
|
git相关命令
1
2
3
4
5
6
7
8
9
10
11
12
13
14
15
16
17
18
19
20
21
22
23
24
25
26
27
28
29
30
31
32
33
34
35
| # git clone
git clone url
用命令行随便进入一个目录,如果你想下载SlidingMenu,他在github上的地址是https://github.com/jfeinstein10/SlidingMenu,你可以在命令行中输入git clone https://github.com/jfeinstein10/SlidingMenu.git,就会把SlidingMenu下载到到当前目录,这就是将远程仓库的代码clone到了本地
# git log
cd SlidingMenu 然后 git log 可以查看这个仓库以前的提交记录
# git status
对 SlidingMenu进行修改后,git status 就会显示出你修改的文件
# git diff
再输入git diff,就会看到你修改了哪些地方,git diff 后面如果不加参数,就是参看整个仓库的diff。如果加了文件名,就是查看该文件的diff。
# git add
再输入git add 该文件名,如果在文件在子目录中,还要加入路径,如果已在当前目录,则输入git add . git add 就是把该文件加入到git 的索引库中,可以理解成把该文件放入到了缓冲区,等待被提交到本地仓库中。
git add . -->提交所有文件到本地仓库中
# git commit
git commit 命令就是提交你本次做的修改,git commit -m “xxxxx”,-m “xxxxx”就是本次修改的简单介绍
# git push
git push,然后git pull拉取最新的代码,可把最新修改的项目同步到你的本地仓库中。git pull要输入用户名和密码。
# git check
git checkout xxxxx,就可以换到xxxx分支。我们做一个项目,代码都提交到A,但是我需要做一些尝试些的开发,我就可以在A的基础上建立B。就是一个仓库,但它可以表现出几个外表。当条件成熟,可以合并分支。
# 一般步骤:
git init
git add .
git commit -m "first commit"
git remote add origin "url"
git branch -M main
git push -u origin main
|
复制文件夹
寻找路径
1
2
3
4
5
6
| # 寻找与“名称”相关的所有路径
find -name "名称"
>find -name mysql
# 寻找“名称”的安装路径
which mysql
|
操作云服务器的数据库
1
2
3
4
5
6
7
8
9
10
11
12
13
| # 连接数据库
mysql -u "用户名" -p
"password"
# 退出数据库
quit;
# 展示数据库的安装路径
which mysql
# 展示所有和mysql相关的路径
(在跟路径下执行)
find -name mysql
|
1
2
3
4
5
6
7
8
9
10
11
12
13
14
15
16
17
18
19
20
21
22
23
24
25
26
27
28
29
30
31
32
33
34
| # 1.关闭服务
>sudo service mysql stop
# 2.修改文件
找到etc路径下的my.cnf
可以使用find -name my.cnf
>vim my.cnf
增加
[mysqld]
skip-grant-tables
skip-networking
# 3.启动mysql,修改密码
>sudo service mysql start
# 4.进入mysql数据库
>mysql
# 5.切换到mysql数据库
>use mysql;
# 6.通过命令修改用户密码,修改方式如下
> update user set password=password("您的新密码") where user="你的用户名";
> flush privileges;(刷新权限)
> quit;(退出mysql)
# 如果修改密码的时候提示password找不到,可以按照下列方式重新操作
> update user set authentication_string=password("您的密码") where user="你的用户名";
> flush privileges;(刷新权限)
> quit;(退出mysql)
# 7.连接数据库,测试密码是否修改成功
> mysql -u 你的用户名 -p
> Enter password:你的新密码
# 8.重新回去my.cnf删掉skip-grant-tables那两行命令
|
参考文章:
在python命令行使用jupyter notebook
1
2
| ## pip3 install notebook
jupyter notebook
|
查看端口号
1
2
3
4
| # lsof
lsof -i :8080
# netstat
netstat -an | grep LISTEN | grep 8080
|
